Día de los Muertos, or Day of the Dead, is a vibrant and joyful Mexican tradition celebrated from October 31 to November 2. Far from being gloomy or spooky, it’s a sacred time to remember, honor and celebrate the lives of loved ones who have passed. Central to this celebration are calaveras—the brightly decorated sugar or clay skulls placed on family ofrendas (altars). These skulls aren’t meant to be scary; instead, they symbolize life’s sweetness, the beauty of memory and the enduring connection across generations.


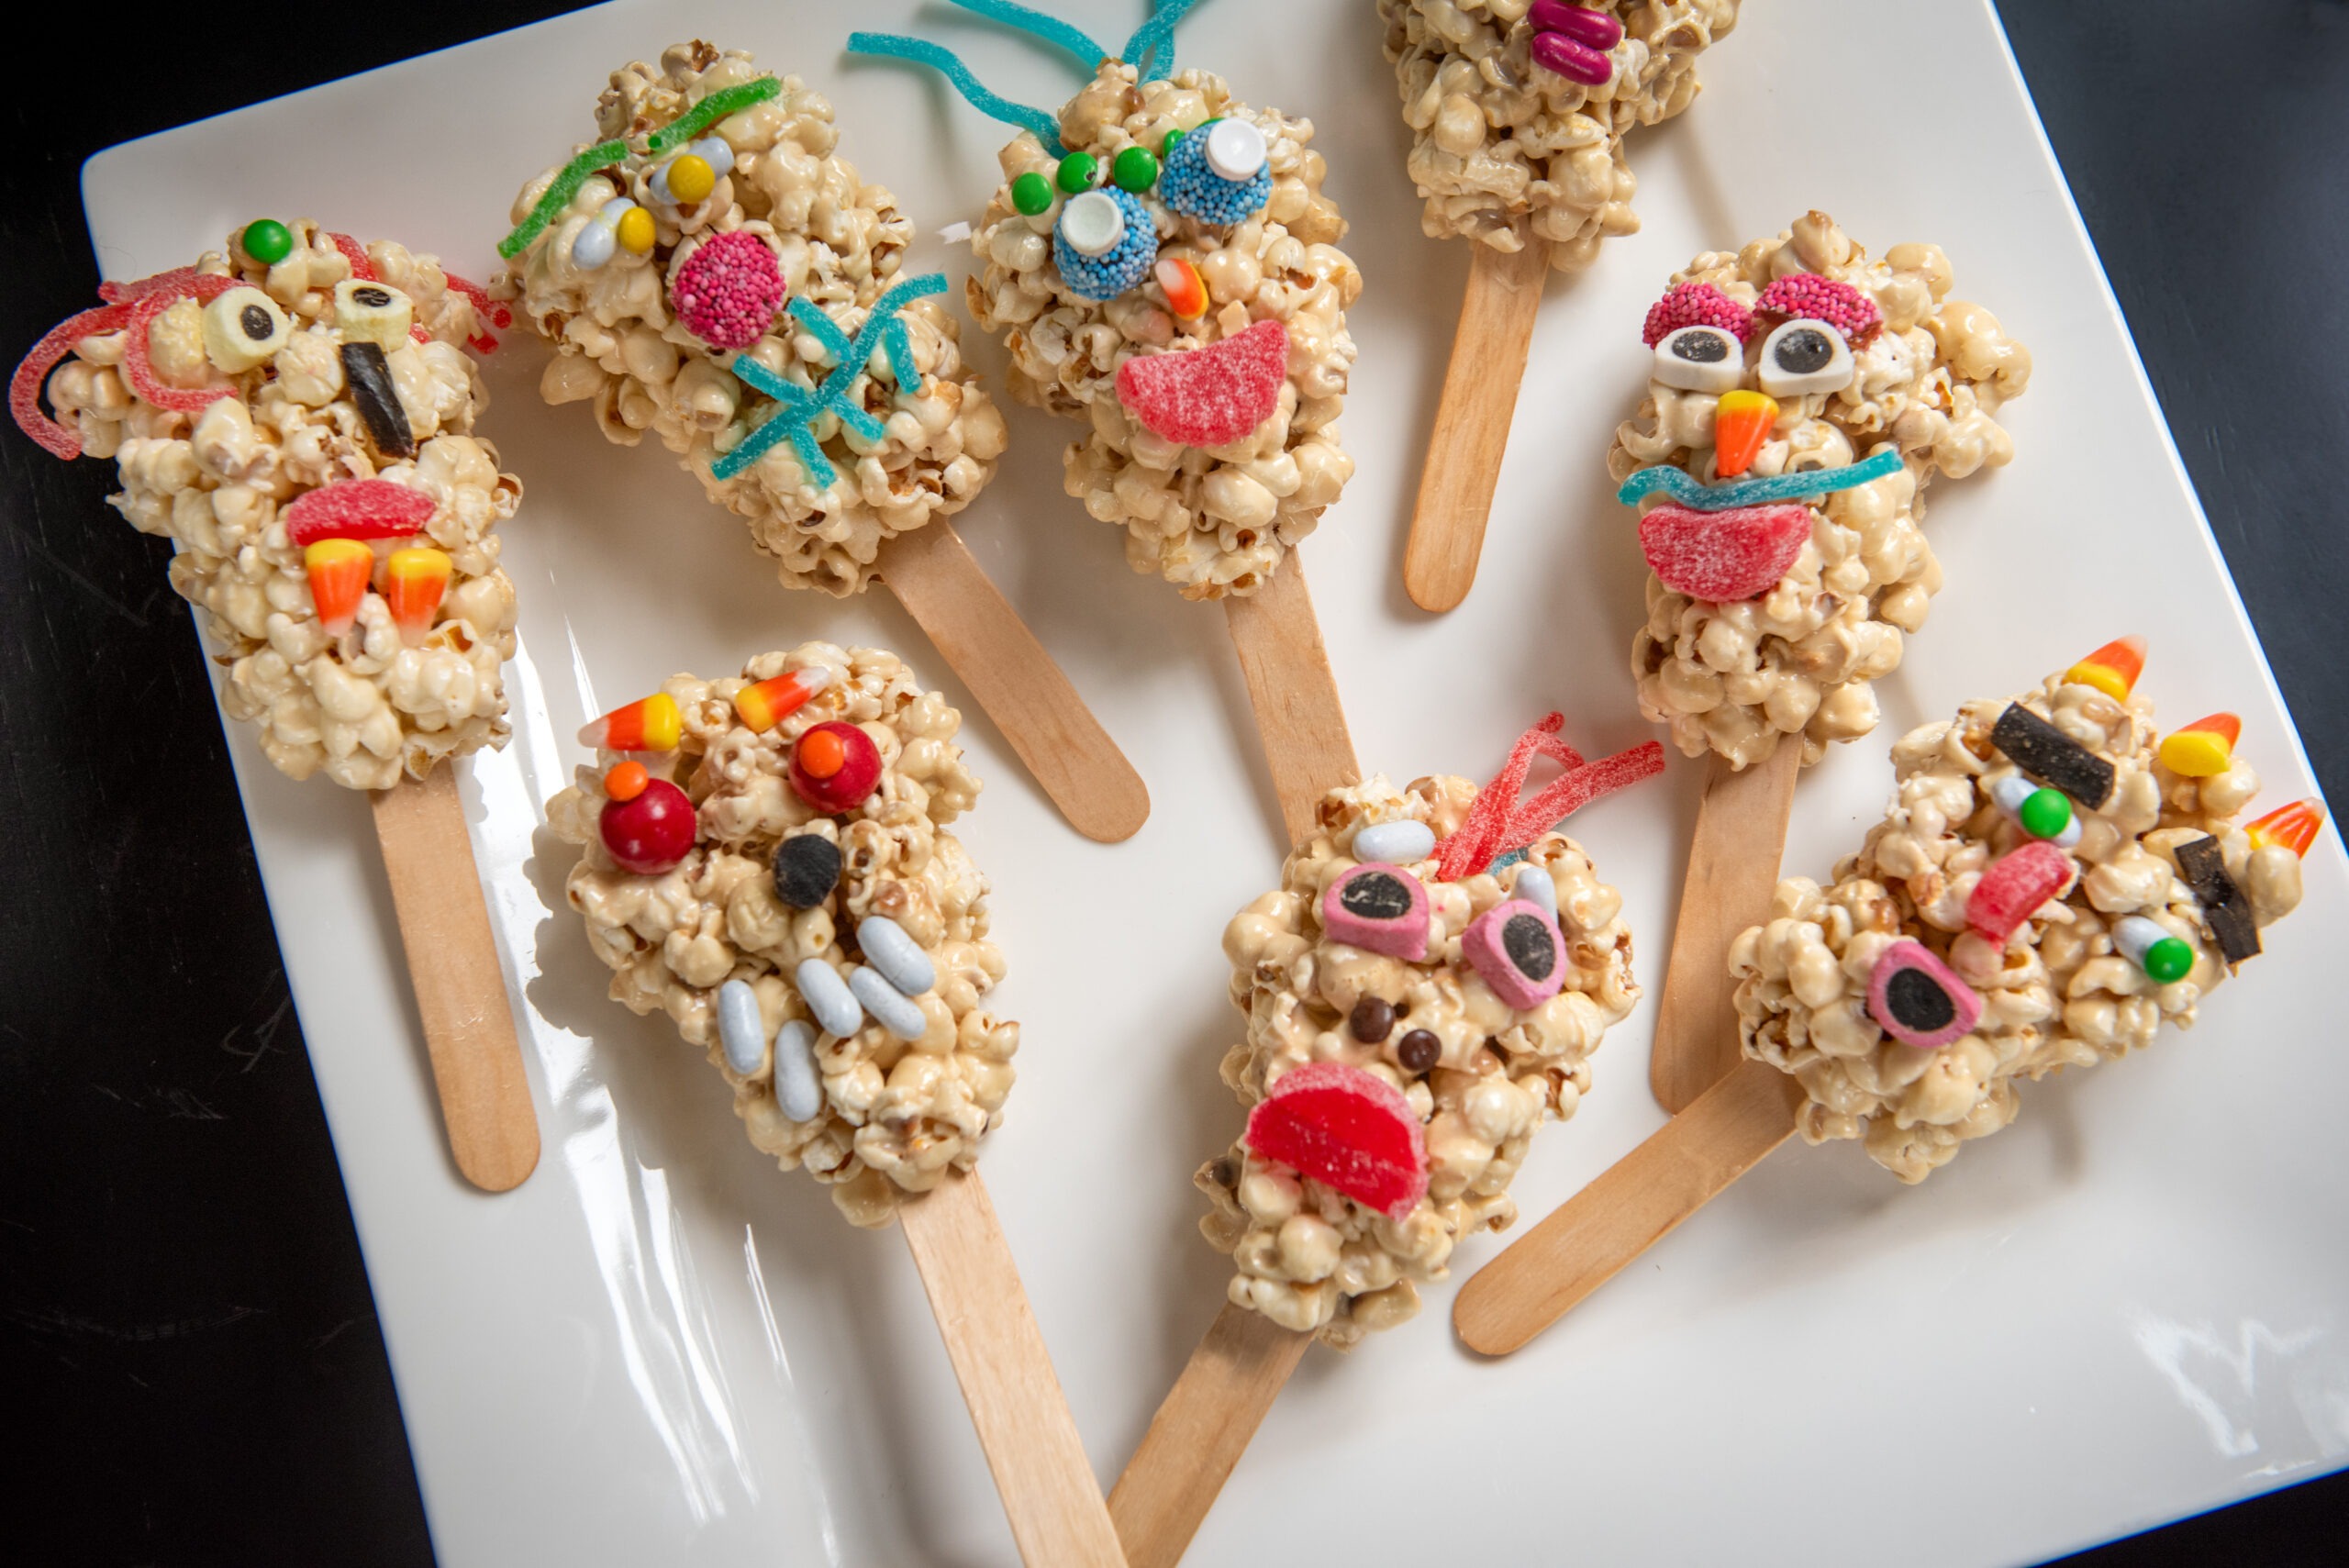
Bon Bon in Sag Harbor serves as a candy Mecca, perfect for decorating and customizing your popcorn skulls however your little Halloween heart desires. (Photo credit: by Doug Young, Daniel Gentile, courtesy of Bon Bon)
Decorating sugar skulls (or in our case, popcorn skulls!) is a wonderfully creative ritual for kids and adults alike, filling the house with color, laughter and stories. For the best decorating options, Cutchogue resident, professionally trained pastry chef, and cookbook author Lauren Chattman recommends buying candies by the pound. Her newly re-released book, Cookie Swap (Workman Publishing), reminds us of the joy of coming together to share treats and stories—and these skull pops are the perfect festive place to start. Local East Enders looking for a rainbow of sweet toppings can head to Bon Bon (9 Washington St. in Sag Harbor) to pick up a custom assortment of candies by the pound.
Tips for the Home Cook
- Lube Up Your Hands and Tools: Working with hot, melted marshmallows is sticky. Grease your hands, rubber spatula, and measuring cup with nonstick cooking spray—and line your baking sheet with parchment paper—to keep the popcorn where it belongs.
- Work Fast While It’s Warm: The marshmallow glue sets as it cools. Mold the popcorn into skull shapes around the popsicle sticks while the mixture is still warm and pliable; once it cools down, shaping becomes much trickier.
- Bulk Candy is Best: For a striking skull face, you’ll want a wide variety of colors, textures, and shapes. Stop by Bon Bon in Sag Harbor to buy small amounts of many different candies by the pound—think M&Ms for eyes, licorice for mouths, and gumdrops for colorful teeth.
Popcorn skulls
Ingredients
For popcorn skulls
- 4 tbsp butter, melted
- 1/2 cup packed light brown sugar
- 1 bag (10.5 oz) mini marshmallows
- 1 tsp pure vanilla extract
- 4 quarts popped popcorn (from 1/2 cup unpopped corn)
- 8 wooden popsicle sticks
Assembly & Decoration
- light corn syrup (for edible glue)
- assorted small candies (such as M&Ms, Good & Plenty, jelly beans, candy corn, licorice laces, gumdrops from Bon Bon in Sag Harbor)
Directions
- Melt the Marshmallow Mixture: Combine the melted butter, light brown sugar, mini marshmallows, and vanilla extract in a medium saucepan. Cook over medium heat, stirring constantly, until completely melted, smooth, and glossy. Remove from the heat immediately.
- Coat the Popcorn: Pour the marshmallow mixture over the popped popcorn in a large bowl. Use a greased nonstick spatula to fold and toss gently until every kernel is thoroughly coated.
- Form the Skulls: Line a large baking sheet with parchment paper. Spray a 1-cup dry measuring cup and your hands lightly with nonstick cooking spray. While the popcorn mixture is still warm, scoop 1 cup of popcorn, pack it firmly, unmold it, and shape it into a skull around a popsicle stick with your hands. Place on the prepared sheet and repeat to make 8 skull pops.
- Decorate: Use a small, clean food-safe paintbrush to apply a dab of lightcorn syrup to the back of your candies, then press them firmly onto the popcornskulls to create eyes, noses, teeth, and decorative patterns.
- Set: Let the decorated skulls stand at room temperature for about 30 minutes until the corn syrup dries and the decorations are secure before serving.