Herbs in containers or flats at your local nursery are the first sign of spring, especially for those who like to grow them.
Their resilience to the finicky April weather is also noteworthy, with rosemary, oregano, sage, and thyme being the first to say, “Plant me now!” Raised beds are a rewarding way to utilize these herbs, making the joy of wandering out to the garden before the sun sets to harvest them for a meal part of your summer kitchen story.
Since this winter saw brutal temperatures, many hardy plants you cut back might not have survived. But wait! What is that poking through the soil? The mighty chive! This bright green, easy-to-grow, reed-like herbal relative from the garlic, shallot, and onion family has a mild and delicate flavor, with many recipes this time of year call for chopping it finely and using it as a garnish. That’s all well and good, but what about that restaurant meal you had recently drizzled with a bright green, leek-like sauce?


Resilient to cold weather and abundant this time of year, chives rank among the ultimate edible garnishes. (Photos by Doug Young)
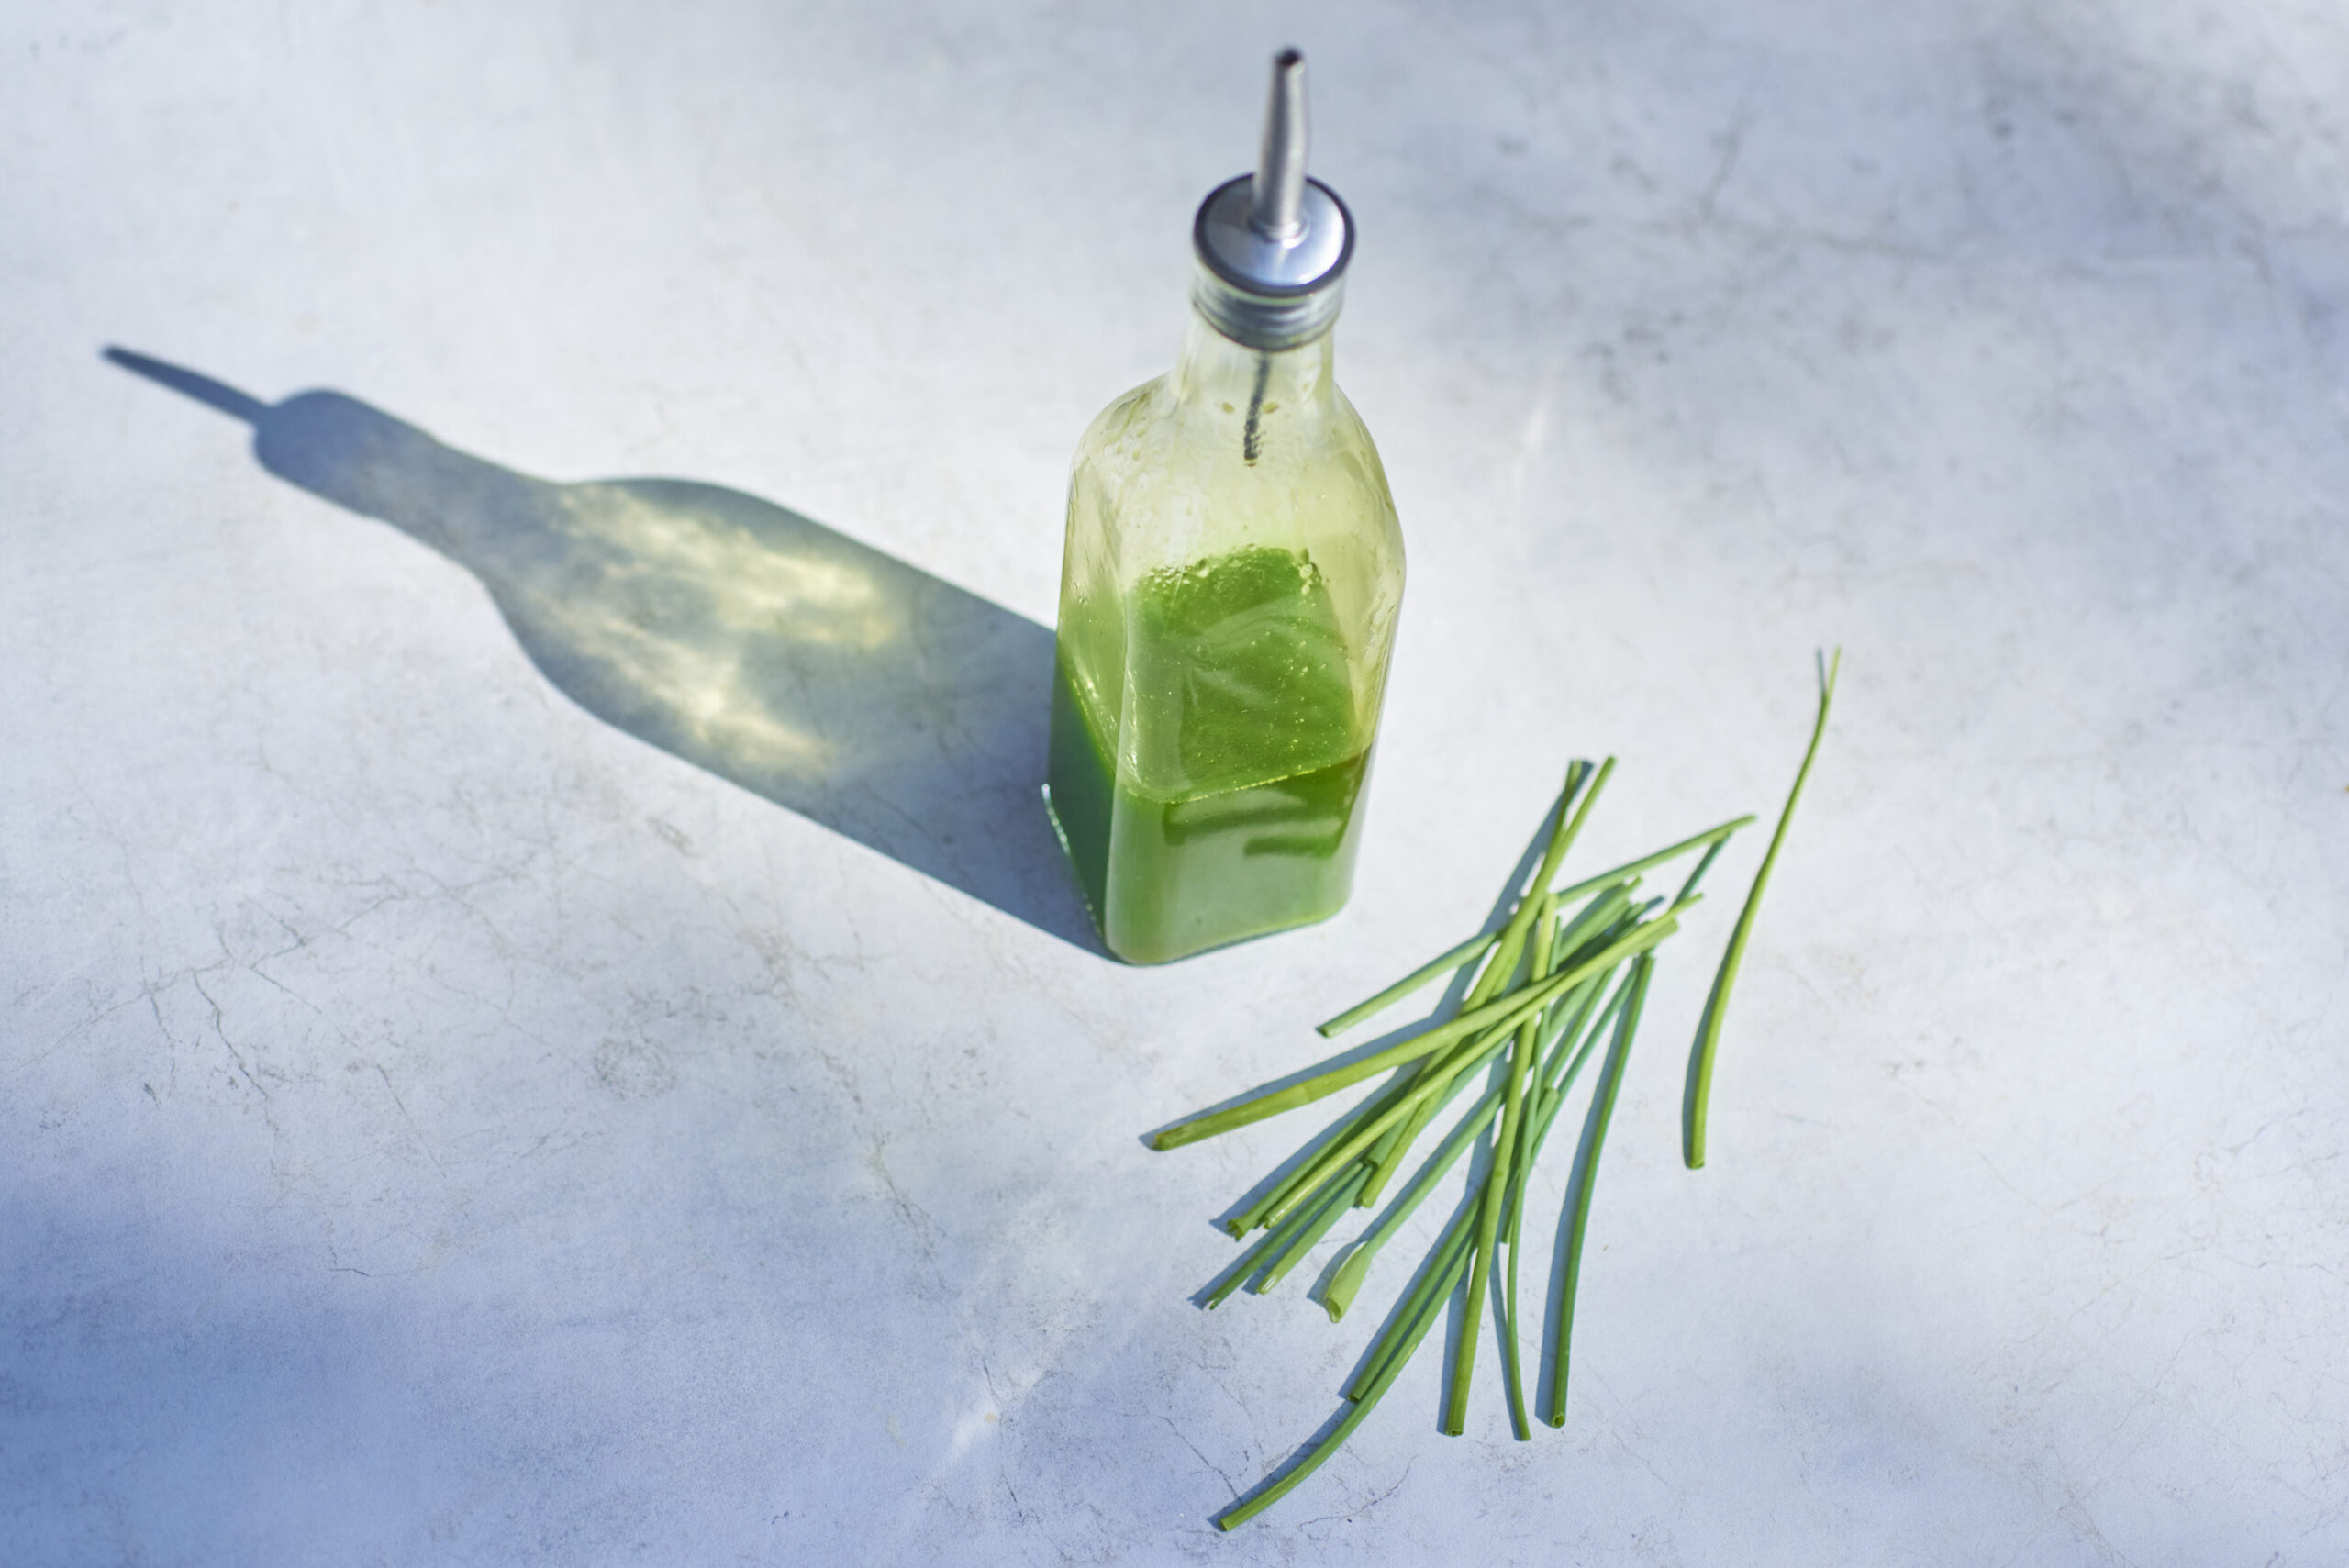
Most likely, it was chive oil, a popular finishing step for many restaurant dishes to accompany roasted salmon, meats, and eggs or streamed on top of stews and soups. Adding a small amount of this herbaceous and versatile blending of fresh chives and oil to a dish also brings a vibrant pop of appealing color and a burst of fresh spring flavor.
This flavored oil recipe is simple enough — just fresh chives, olive oil, and a bit of salt — but there are a few crucial steps to guarantee success. First, chill your oil before adding, which will help maintain the bright green color. Equally important is to try and get as much water out of the strained chives after the ice bath. Lastly, let the pulverized mixture rest in the blender or food processor for at least an hour, allowing the chive flavors to meld with the oil.


Chive-infused oil is an effective, easy way to spruce up almost all dishes. (Photos by Doug Young)
In addition, chive is a herb that provides a wealth of nutrition, as it is low in calories yet rich in essential vitamins such as A, C, and K, along with minerals like calcium, potassium, and iron.
Even more reason to grow them, with the hope of them returning the following year. Pop over to Fowler’s Garden Center in Southampton to get started. They carry abundant herbs as the season progresses but currently have flats of chives in stock (as well as rosemary, thyme, and oregano). By the second week of May, you should be able to harvest your own to make this tasty infused chive condiment that will soon become a kitchen staple in your culinary arsenal.
Spring Chive Oil
Ingredients
- 2 cups chives (about 3-4 bunches)
- 1/2 cup extra virgin olive oil or neutral oil
- 1/4 tsp salt
Directions
- Harvest fresh chives, removing any chive blossoms and brown pieces. You can also use store-bought chives.
- Rinse the chives, pat dry and cut in half.
- Fill a large bowl or container with ice cubes or crushed ice. Pour enough cold water to cover the ice and mix it well.
- Bring the water to a boil in a large pot and add a pinch of salt.
- Place the herbs in the pot of boiling water for a quick cooing time of around 10 seconds, being careful not to overcook them. Once bright green, drain the chives in a colander and plunge them into the ice bath.
- Remove the chives for the water and gently squeeze to remove most of the water. Drain on paper towels and press further, removing as much water as possible.
- Add the chilled oil and chives to a blender or food processor and puree at high speed for 2 to 3 minutes or until completely smooth and well combined.
- Allow the mixture to sit for 1 hour so the flavors meld.
- Line a fine mesh strainer with cheesecloth and place on top of a straining bowl. Pour the oil into the sieve and allow it to filter into the bowl below, which should take about an hour. Don't force the oil through the cheesecloth, as the strained oil will be cloudy.
- Discard the cheesecloth. Transfer the oil to a squeeze bottle or airtight container and keep it in the fridge for 1 week or until the color starts to fade.